How to Create and Send an Invoice
Κατηγορία:
 Billing
Χρήσιμο για:
Creating invoices is a critical task for administrators to ensure accurate billing and timely payments. This feature simplifies the invoicing process by providing an easy-to-use interface for generating and managing invoices. Below are the steps to create and manage invoices efficiently:
-
Navigate to the Billing Section
Start by accessing the Billing section, where you can manage all invoicing tasks.
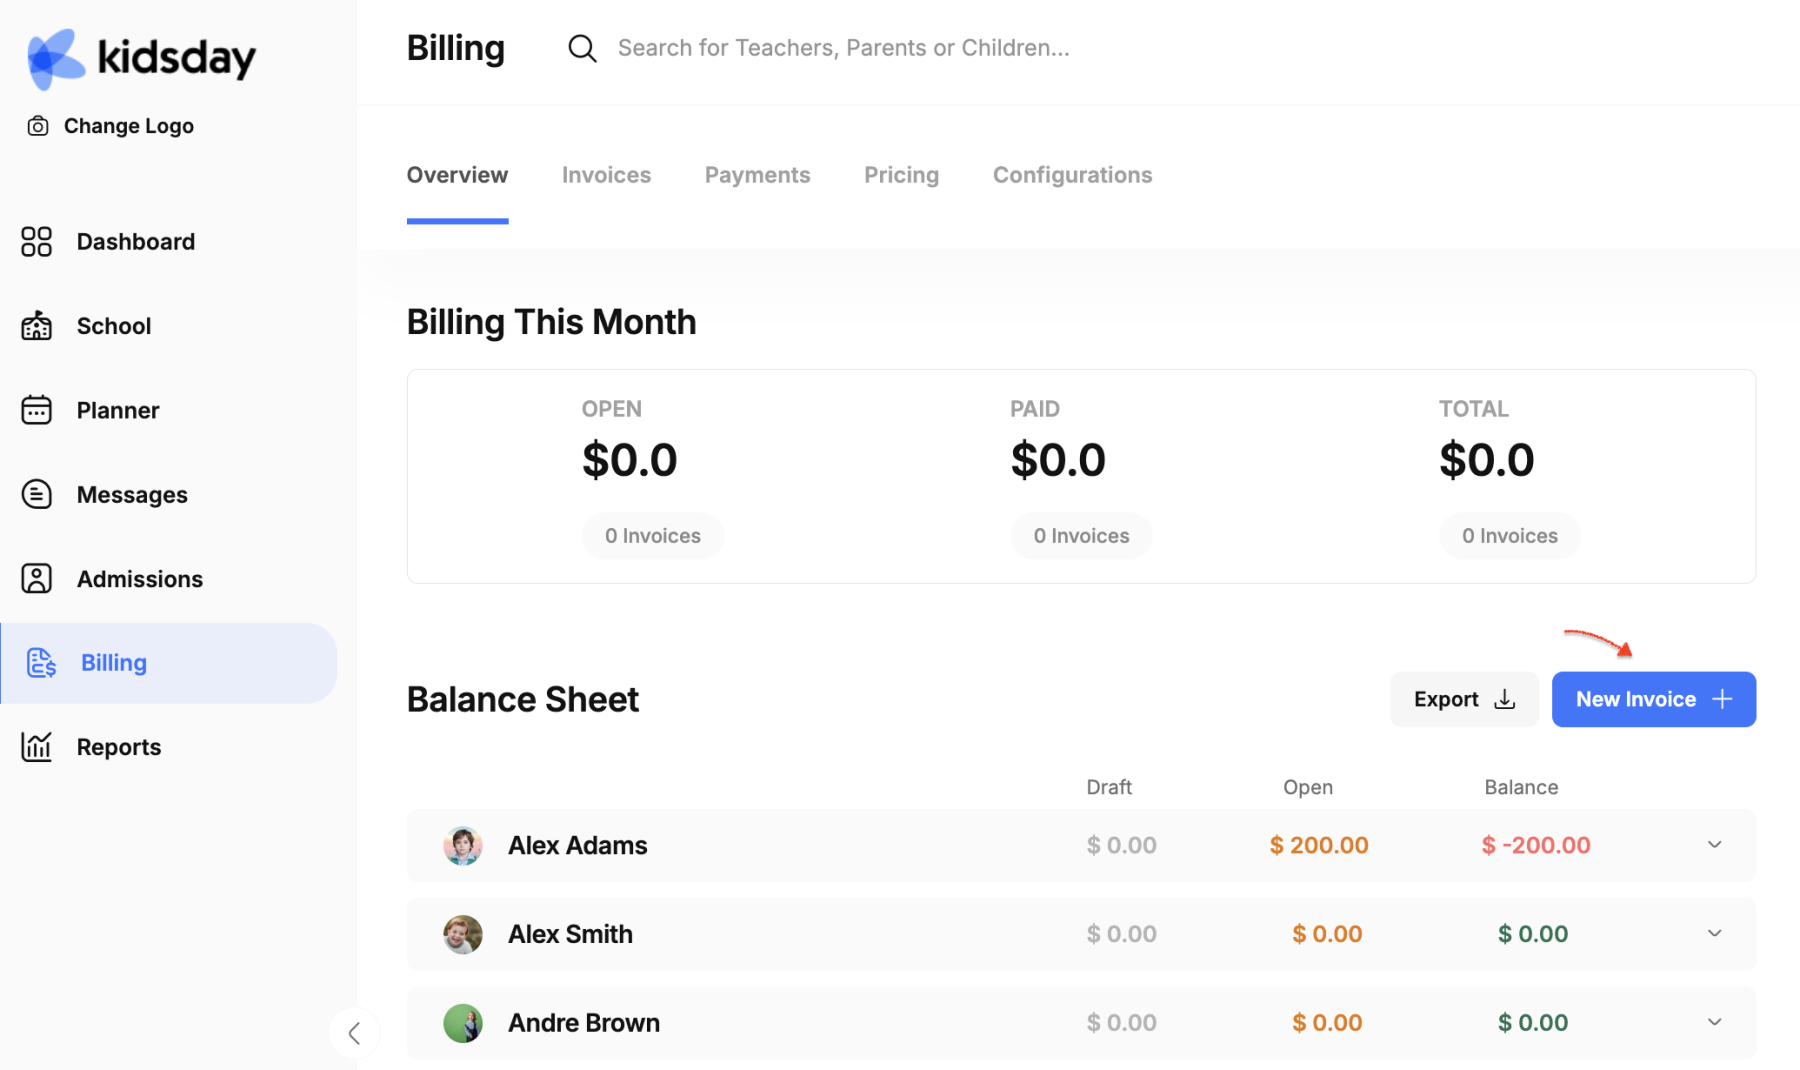
- Create a New Invoice
Click on the "New Invoice+" option to initiate the process of generating a new invoice.
Fill in Invoice Details
A form will appear for you to enter the required invoice information:
- Child: Type to search and select the child you wish to bill.
- Invoice Number: This field auto-populates with a unique invoice number.
- Tax: Choose the applicable tax option, ensuring tax settings are preconfigured in advance.
- Issue date: Specify the invoice issue date.
- Due date: Set the due date for payment.
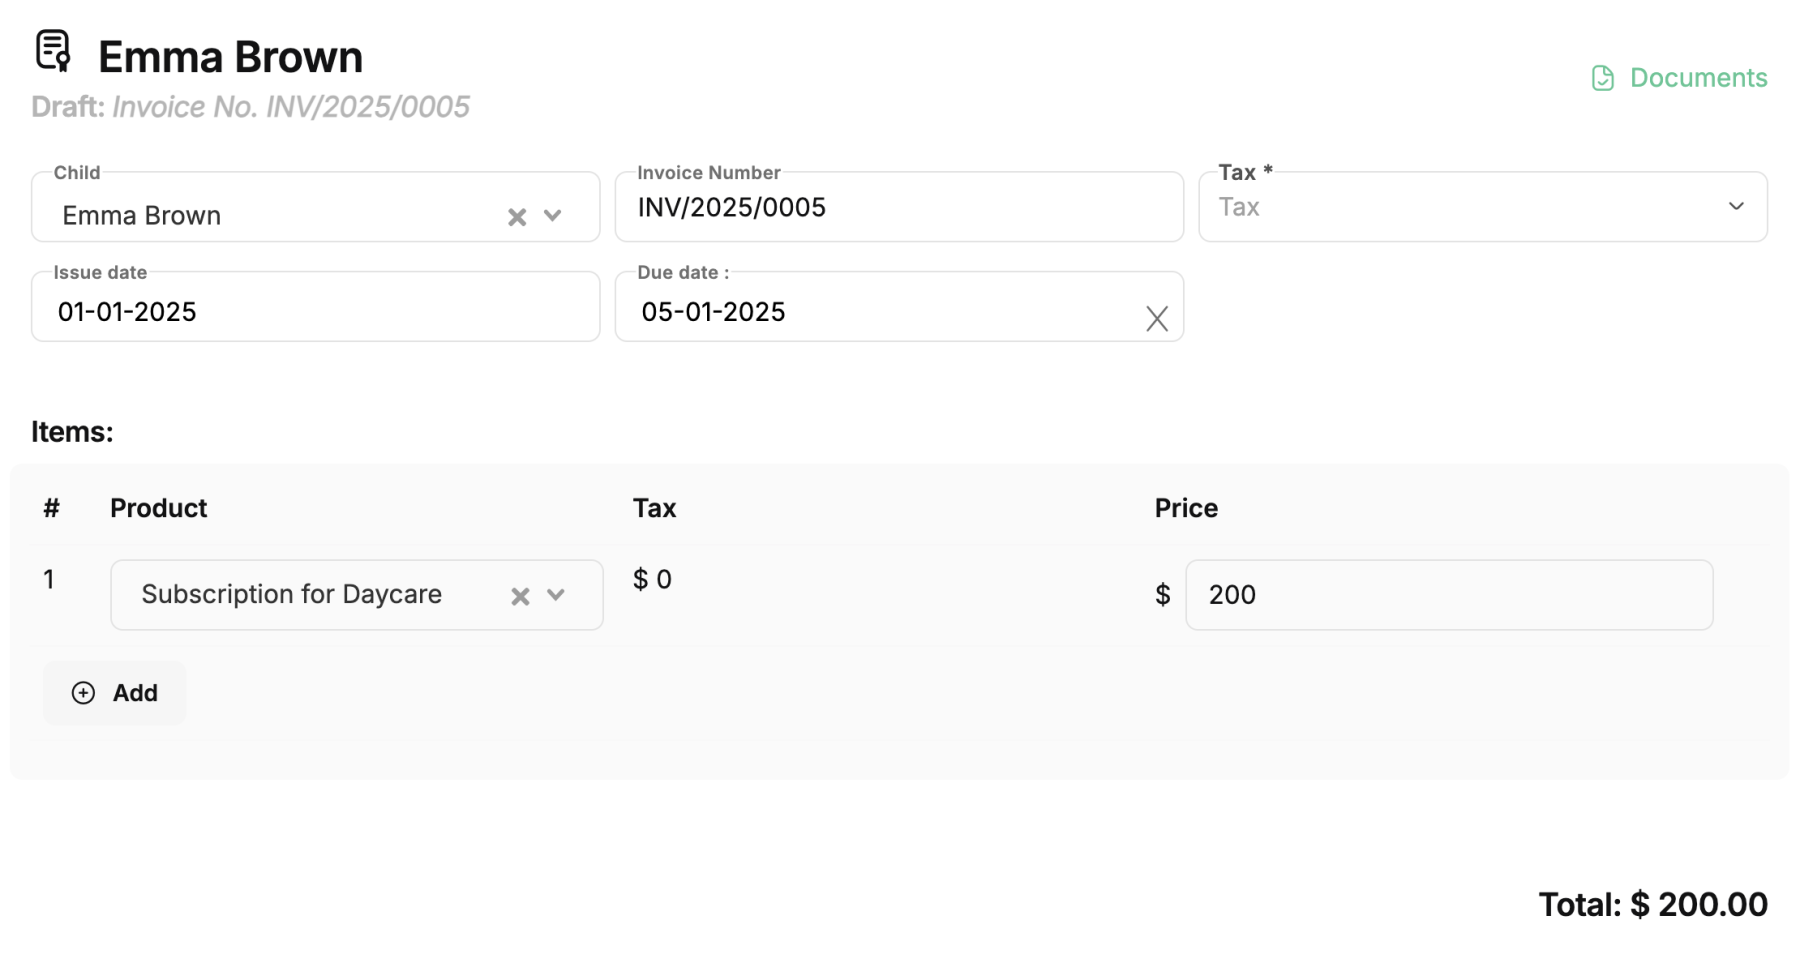
Select Products: Choose the relevant service or subscription for the child, such as "Kindergarten Subscription."
Send Invoice to: Once the child is selected, the parent’s details will appear automatically. You can also add other recipients in the CC/BCC fields if needed.
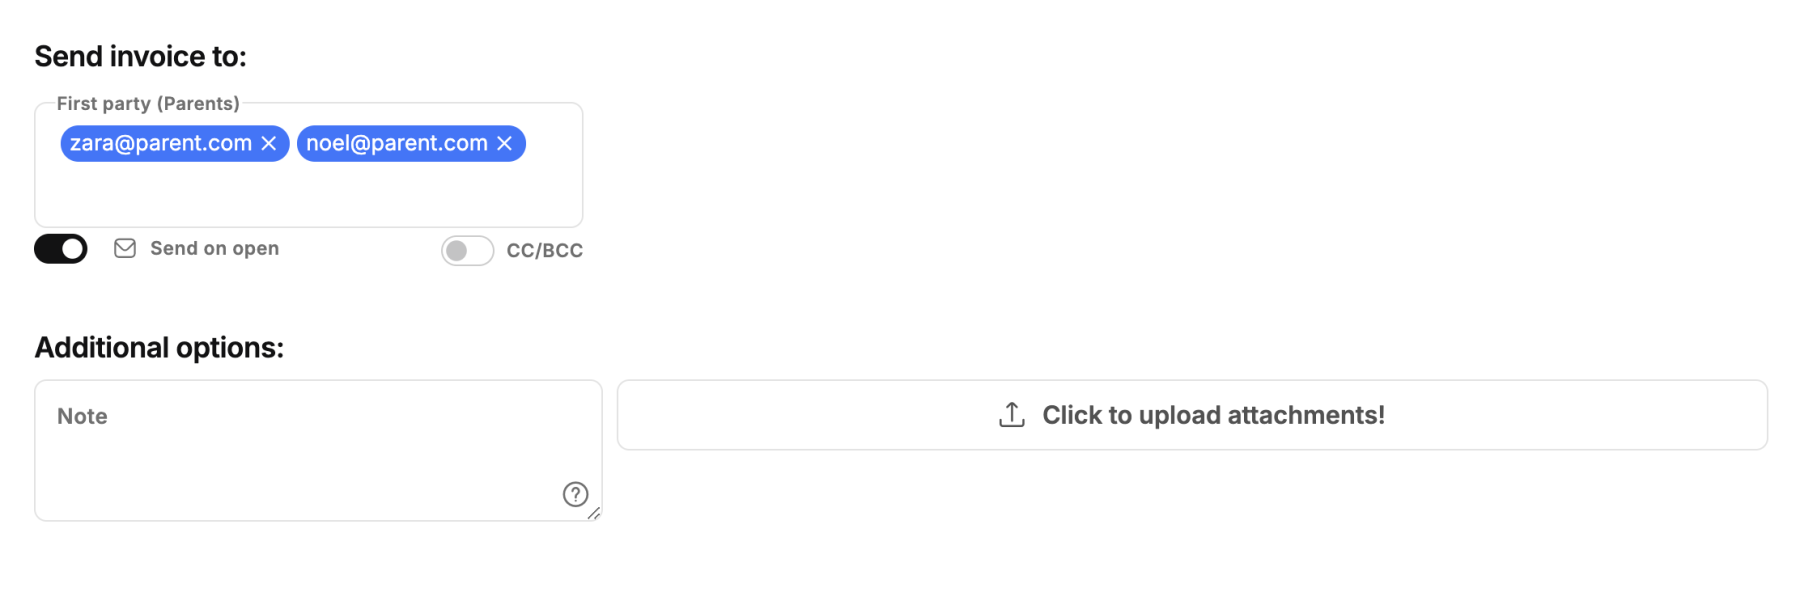
Additional Options: Pre-configured details, such as your bank account number, will automatically populate.
Save and Confirm: After entering all details, click "Save & Confirm" to finalize the invoice.
Download and Review: Once saved, click on the "Documents (1)" option to download the invoice as a PDF and review how it will appear to the parents.
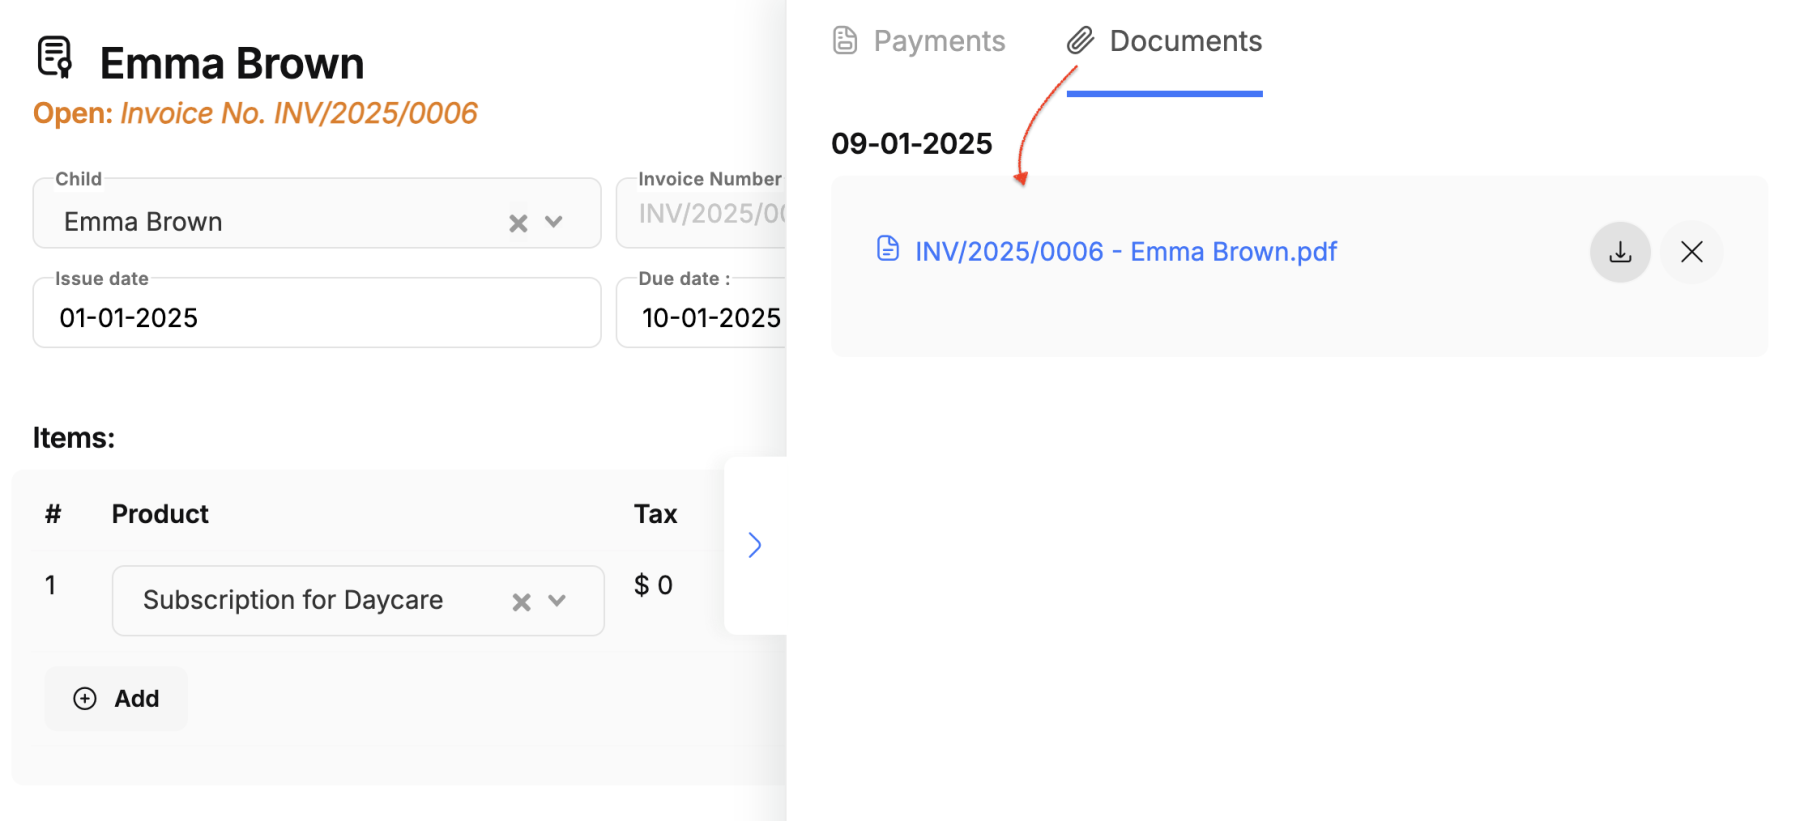
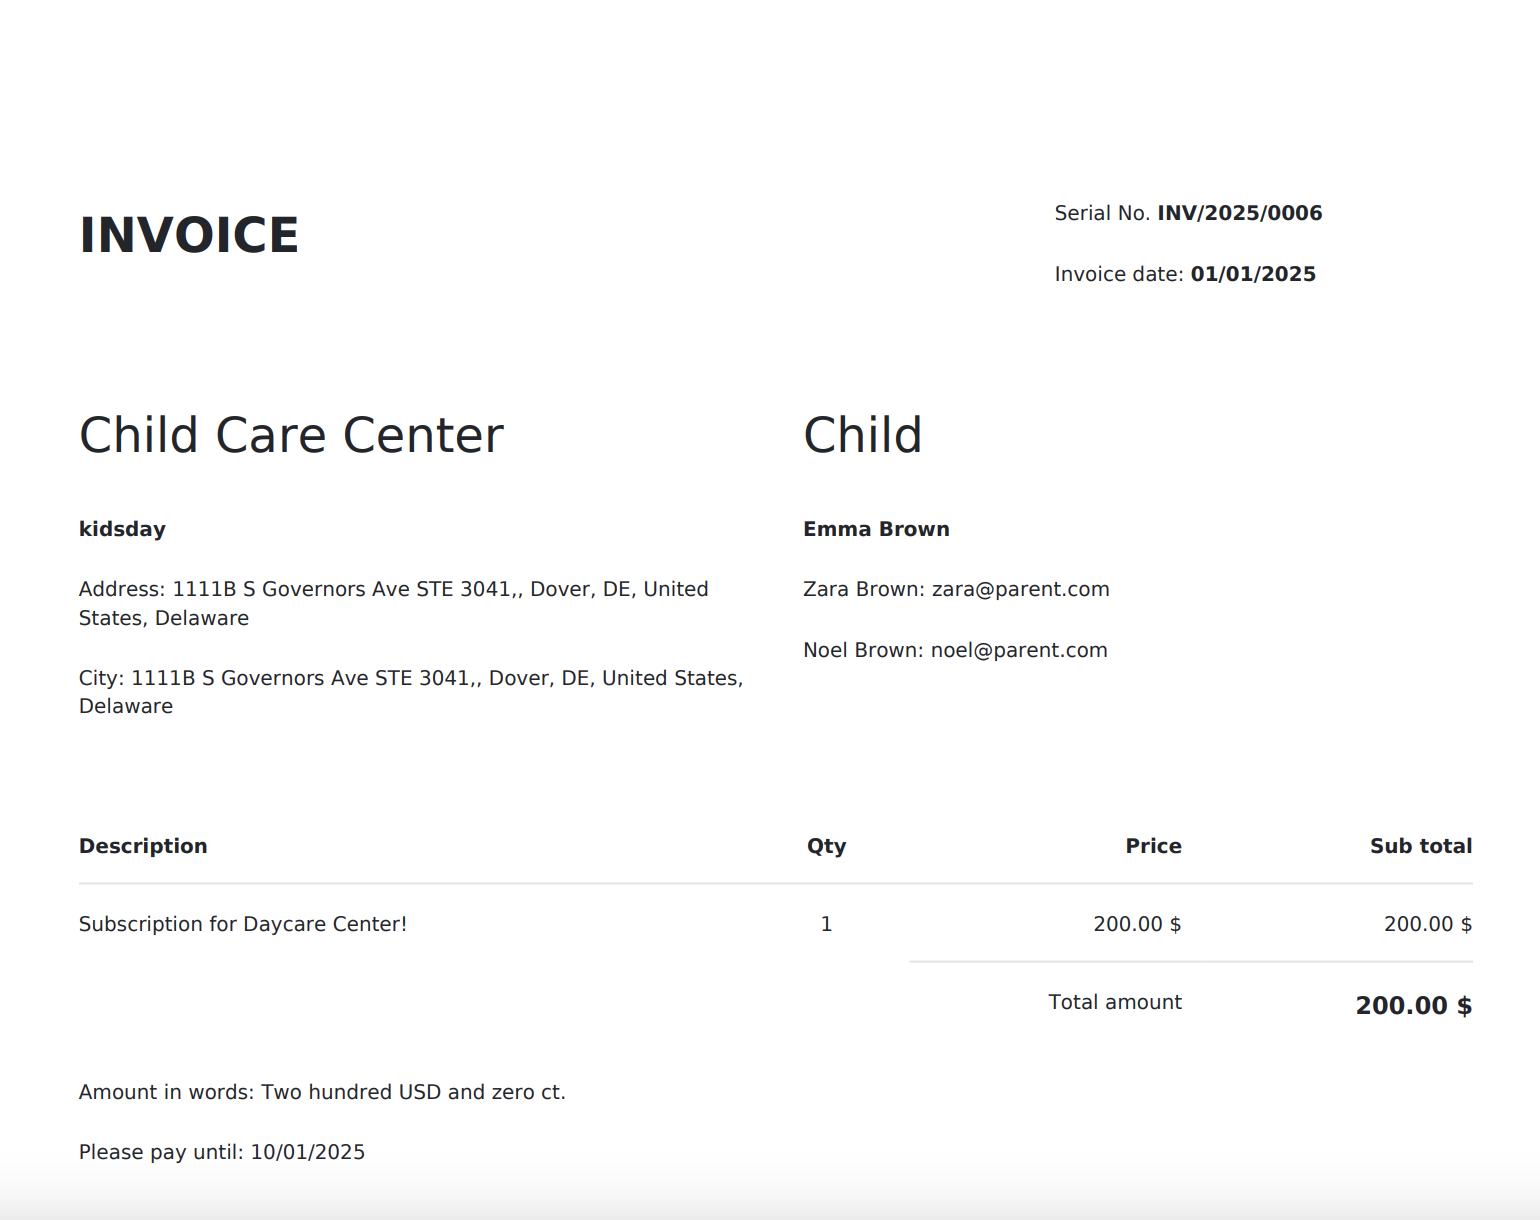
This process ensures a streamlined, professional invoicing experience, enhancing accuracy and efficiency for administrators.