
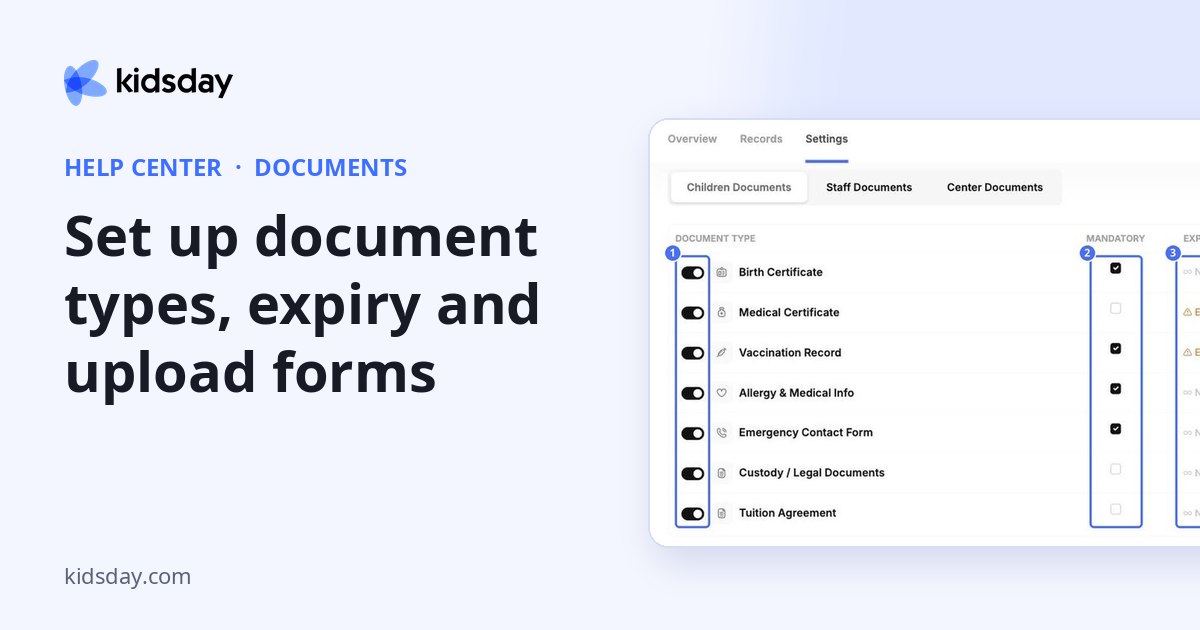
The Settings tab decides which documents you collect and how long they stay valid. Choose Children Documents, Staff Documents or Center Documents at the top.
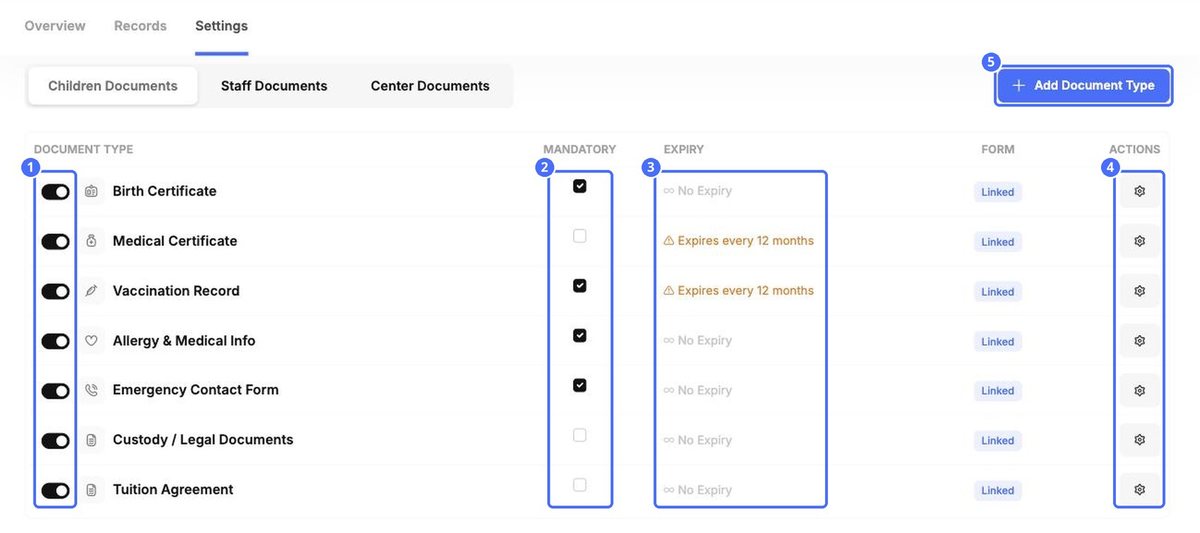
| Column | What it means |
|---|---|
| Switch | Turns the document type on or off for your center. |
| Mandatory | Ticked types count towards compliance. |
| Expiry | How long an uploaded document stays valid, for example Expires every 12 months or No Expiry. |
| Form | Linked shows the type has an upload form. You can change it with Edit Document Upload Form. |
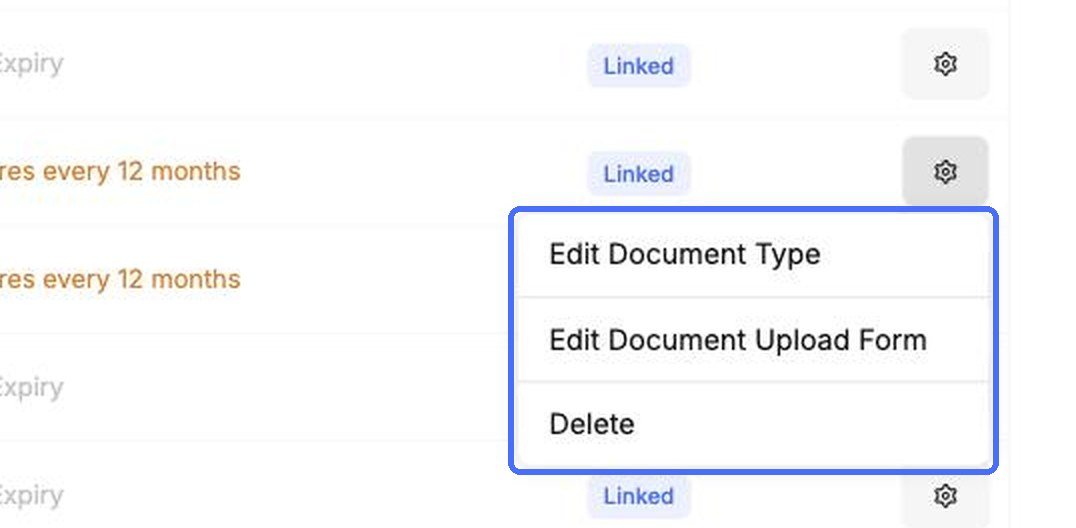
| Actions | The gear opens Edit Document Type, Edit Document Upload Form and Delete. |
Add or edit a document type
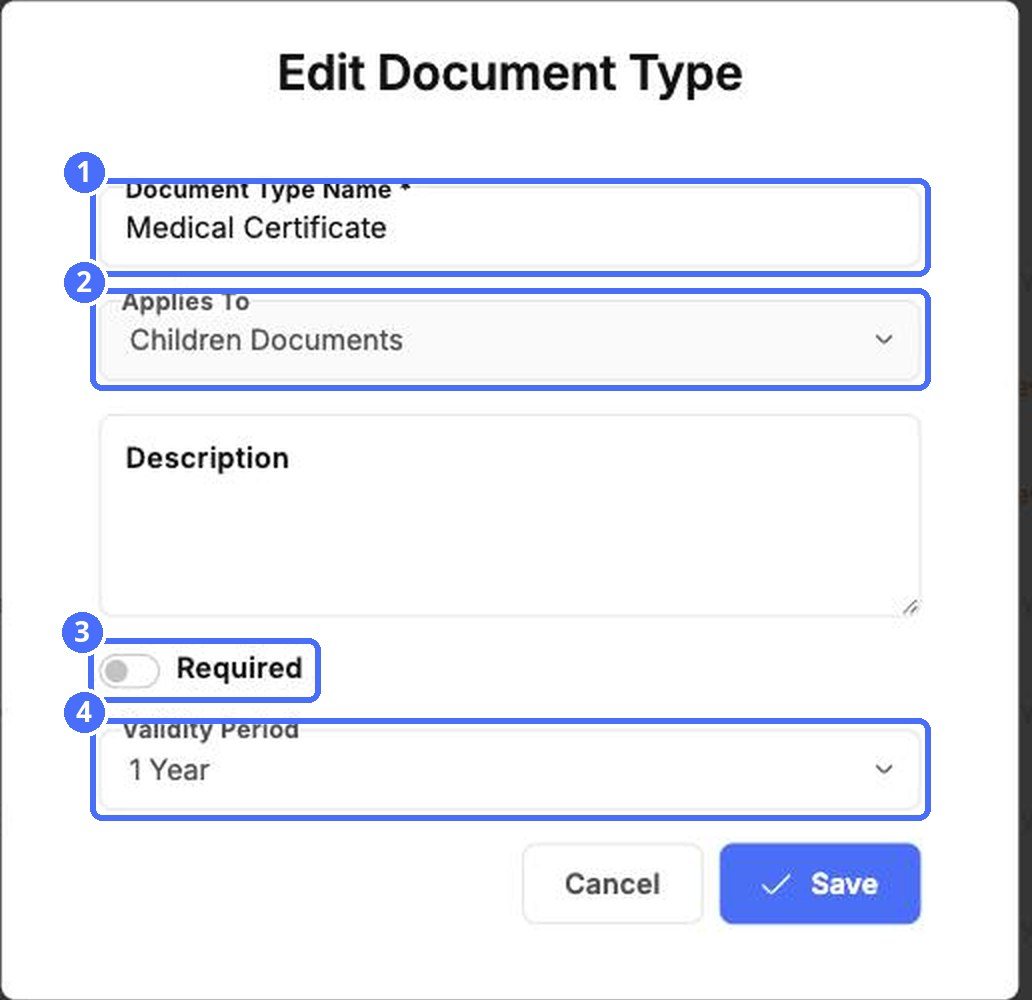
- Click Add Document Type, or the gear › Edit Document Type.
- Enter the Document Type Name.
- Under Applies To, choose children, staff or center documents.
- Add a Description so families know what to upload.
- Switch Required on if the document is mandatory.
- Choose a Validity Period: No Expiration, 1, 3 or 6 months, or 1, 2, 3 or 5 years.
- Click Save.
Tip: Documents with a validity period appear under Expiring Soon 30 days before they run out, so you have time to ask for a new one.
Edit the upload form
The gear › Edit Document Upload Form opens the form builder for that document. It works like the enrollment form builder (see “Customize your enrollment form”): add fields from the left, group them in sections, and click Save.
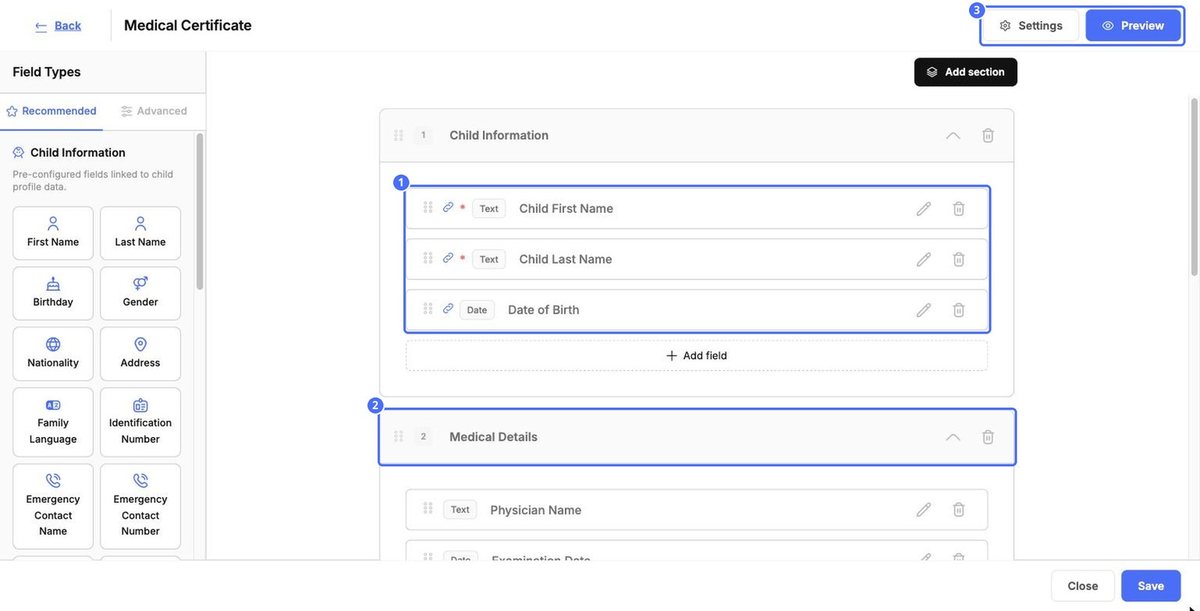
The chain icon marks fields that are linked to the child's profile. Click Preview to see the form as families will, and Close to leave without saving.
Note: Delete removes the document type. To pause it instead, use its switch.