
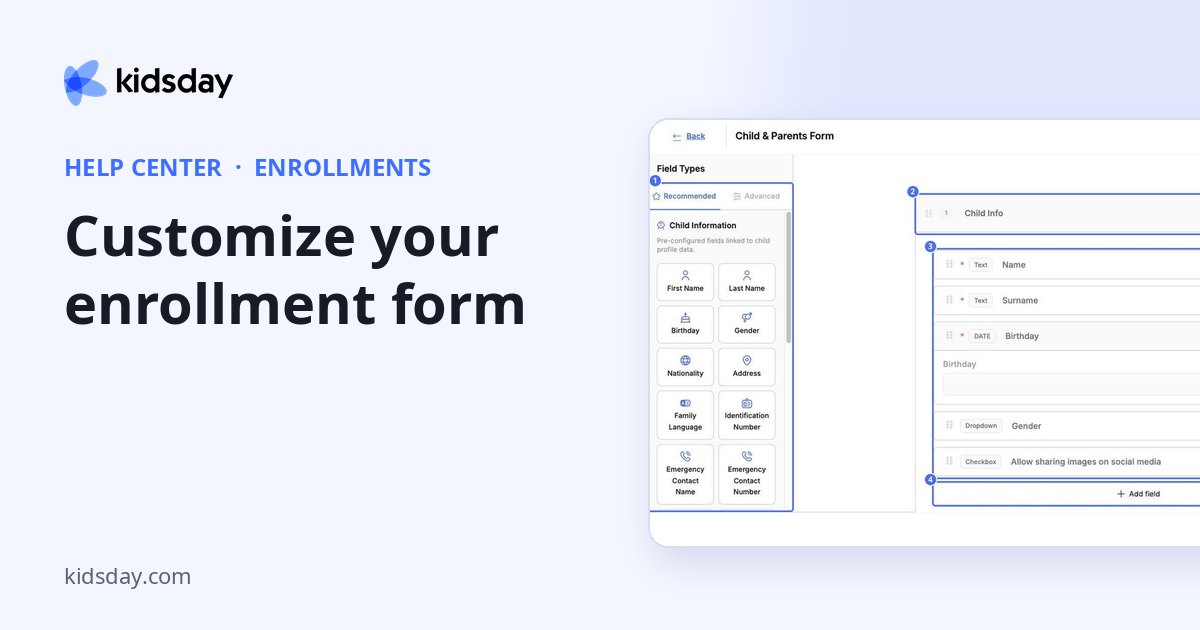
Click Customize Form to decide what families are asked. The form builder has the field types on the left and your form on the right.
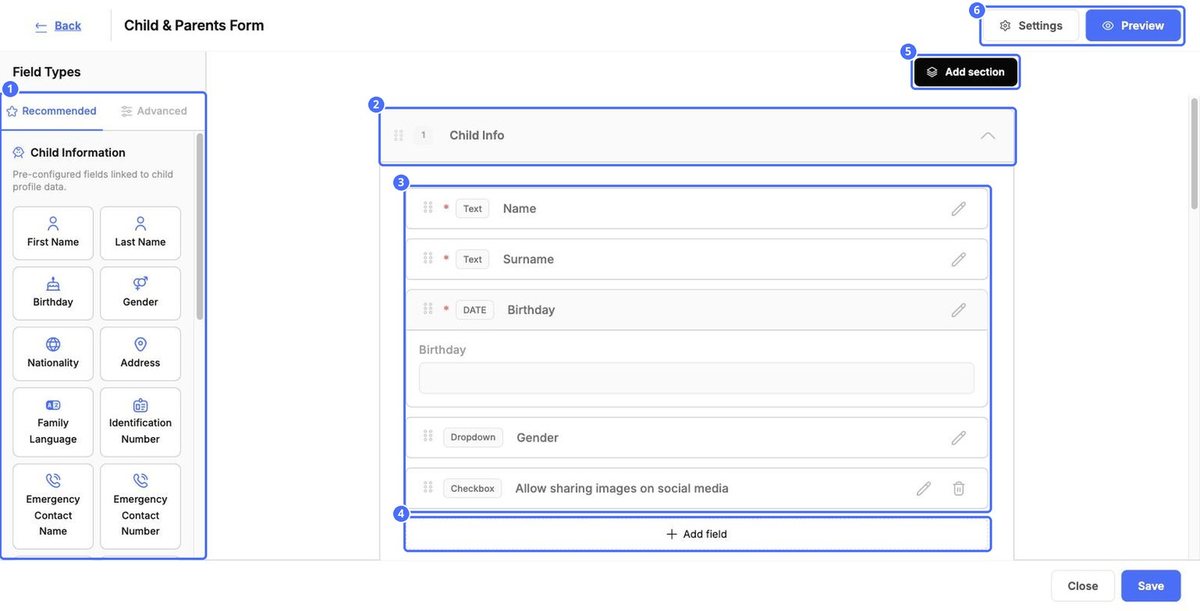
Build the form
- Click a field type on the left, or Add field inside a section, to add a question.
- Click Add section to start a new group of questions, such as Parent Info.
- Drag the dotted handle on the left of a section or field to change the order.
- Click the pencil to edit a field. Click the bin to remove it.
- Click Save at the bottom right.
Each field shows its type, such as Text, DATE, Dropdown or Checkbox. A red star means the field is required. Some core fields, such as the child's name and birthday, can be edited but not removed.
Field types
| Tab and group | Fields |
|---|---|
| Recommended › Child Information | First Name, Last Name, Birthday, Gender, Nationality, Address, Family Language, Identification Number, Emergency Contact Name and Number, Vaccines, Other Info, Share on Social Media and Allergies. These fill in the child's profile. |
| Recommended › Parent/Guardian Fields | Parent Email and Parent Profession. |
| Advanced › Input Fields | Short Answer, Long Answer, Number, Email, Date, Choice List, Yes/No, Signature, File Upload and Document Review. |
| Information & Documents | Info Message, Downloadable File and Agreement Text, for things families should read, download or agree to. |
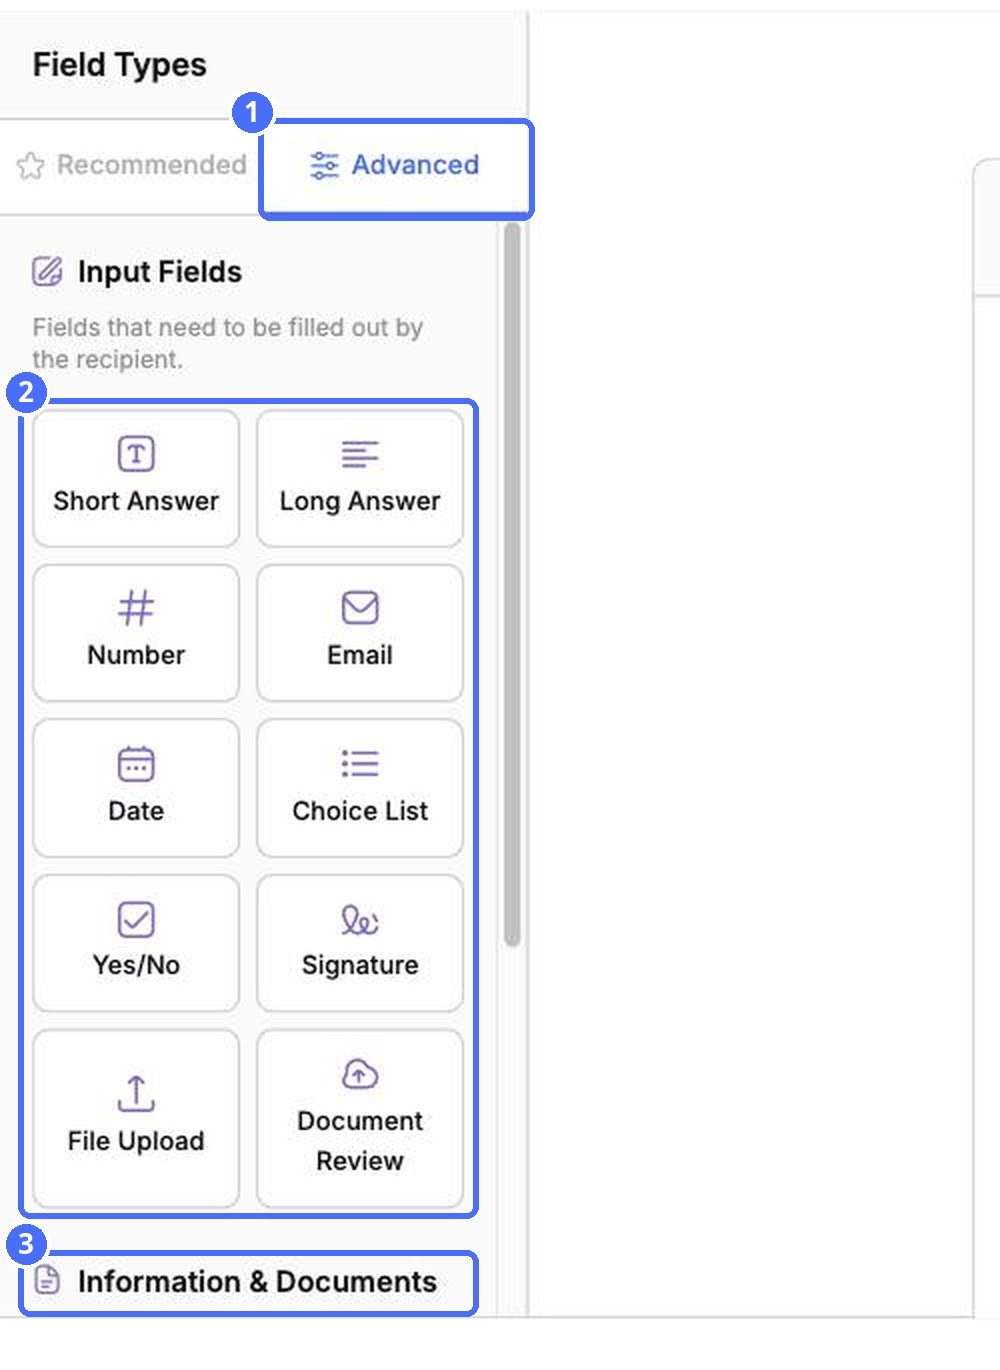
Tip: Use Signature with Agreement Text to collect a signed agreement, and File Upload to ask for documents such as a vaccination record.
Form settings
Click Settings at the top right to change the form's name and description. Click Save in the Edit window to keep your changes.
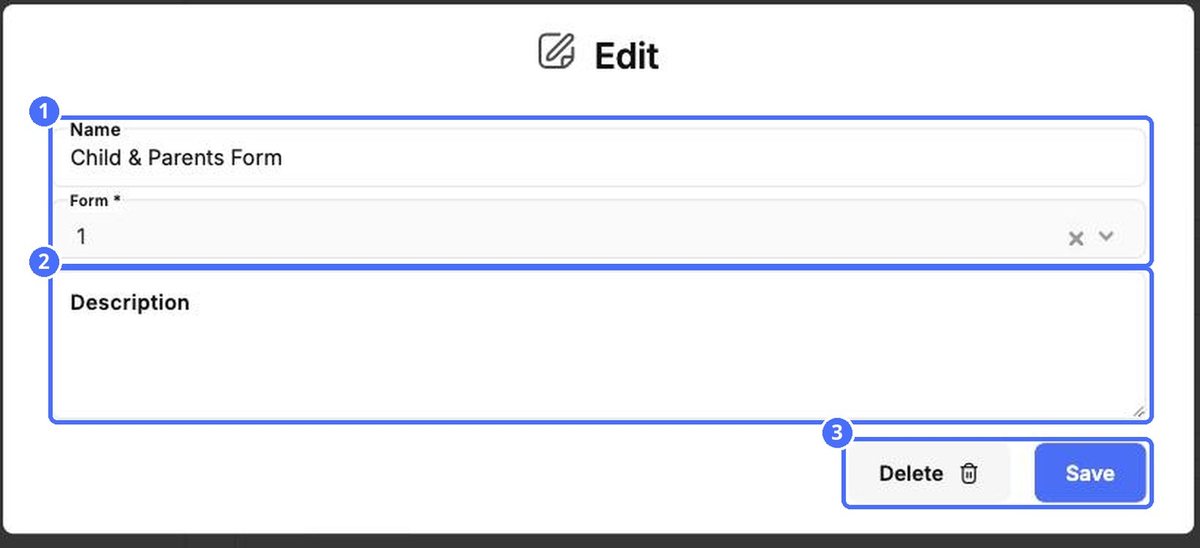
Note: Delete removes the whole form. Use it only if you're sure.
Preview the form
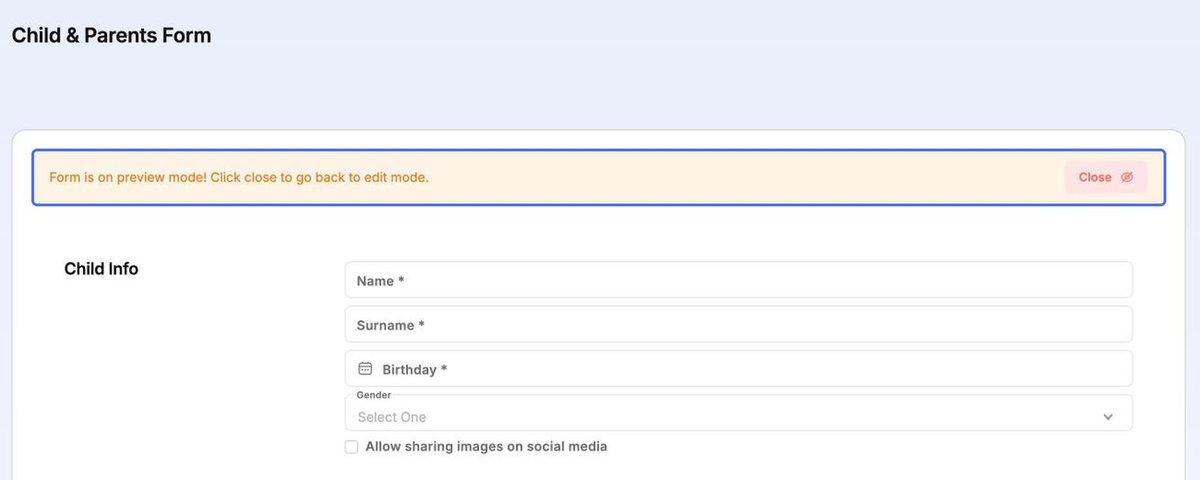
Click Preview to see the form as families will see it. It opens in a new tab. Click Close in the orange banner to return to editing.
Click Close at the bottom of the builder to leave without saving.