The setup wizard walks you through the four things kidsday needs before it can invoice families. You can run it again at any time.
- Open the Settings tab inside Finances.
- Select Features in the settings menu.
- Click Run setup wizard.
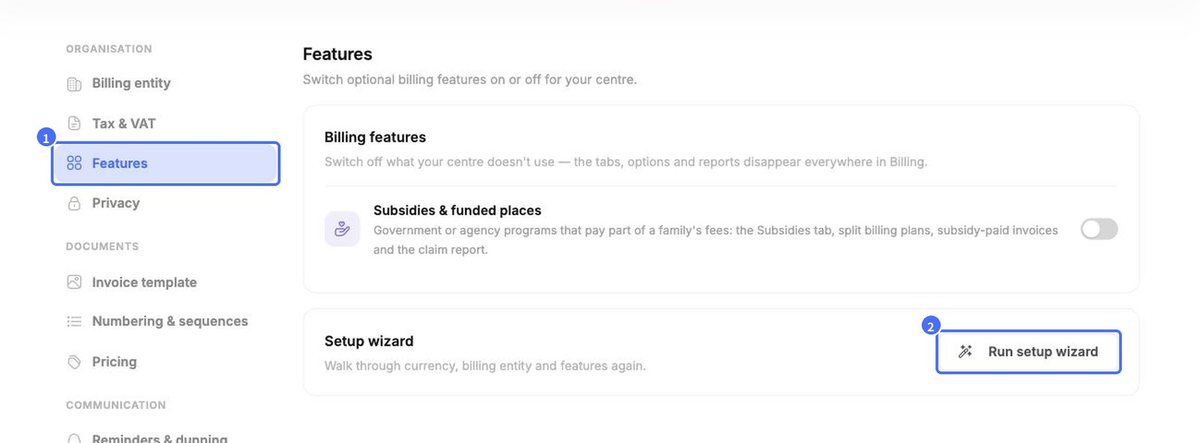
Tip: On the Features page you can also switch Subsidies & funded places on or off. When it is off, the subsidy tab, split plans and claim reports are hidden everywhere in Billing.
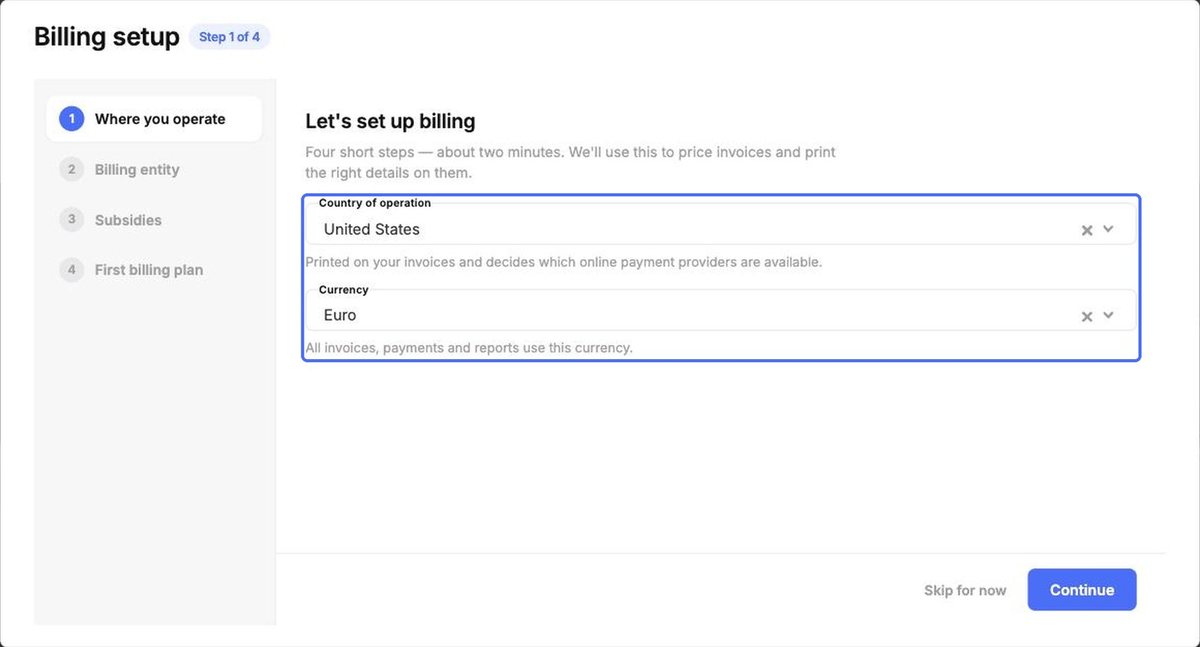
Step 1 – Where you operate
Choose your Country of operation and Currency, then click Continue. The country is printed on your invoices and decides which online payment providers are available. All invoices, payments and reports use the currency you choose.
Step 2 – Billing entity
Confirm the details printed on every invoice and receipt, then click Continue:
- Legal name and Tax ID / VAT of your centre.
- Bank name and IBAN, so parents know where to send bank transfers.
- Registered address.
- Payment due (days after issue) – the default payment term for new invoices, e.g. 14 days. You can still change it on each invoice.
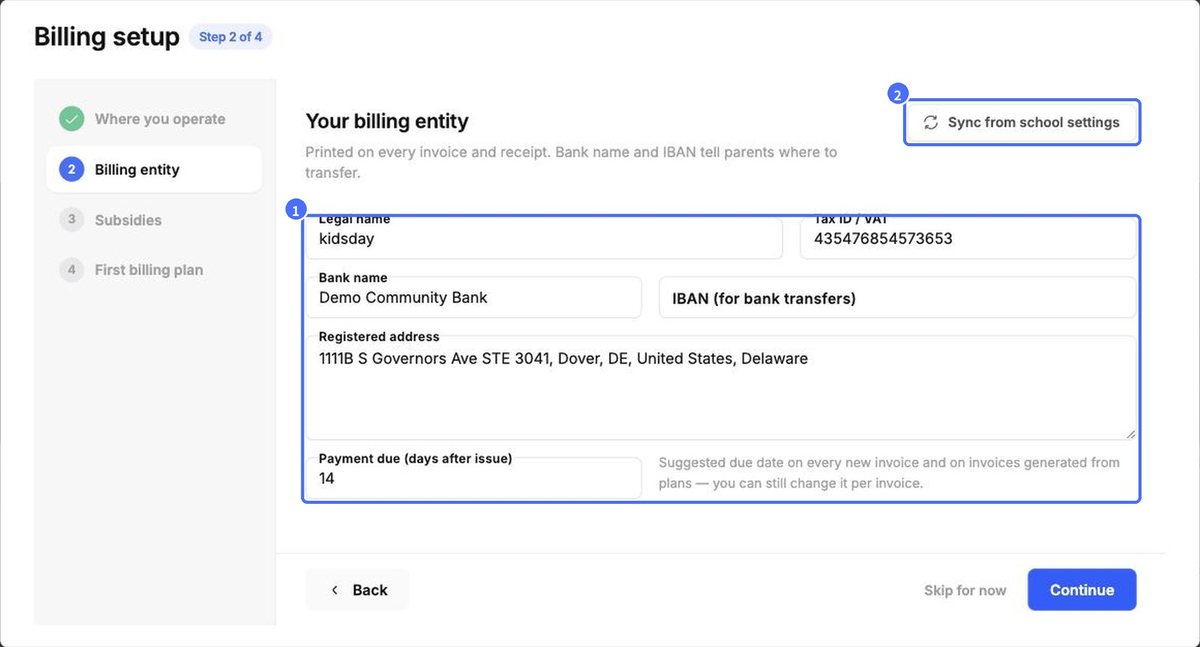
Tip: If your school details are already filled in under Settings, click Sync from school settings to copy them in one go.
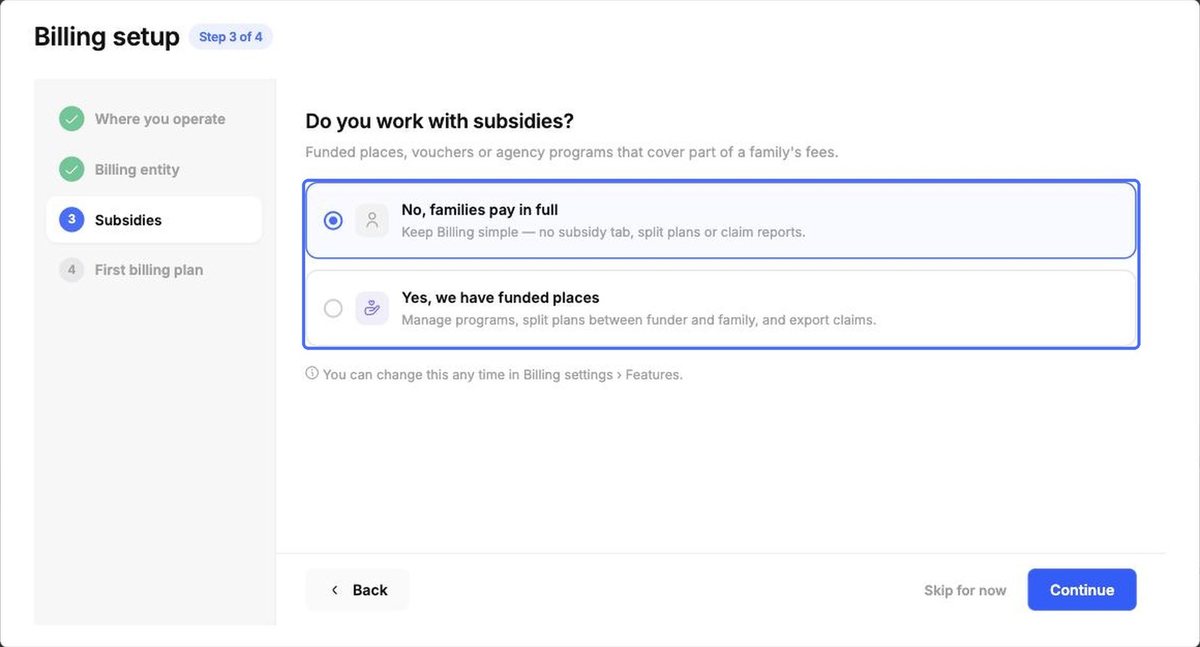
Step 3 – Subsidies
Choose No, families pay in full to keep billing simple, or Yes, we have funded places if a government or agency program pays part of the fees. Click Continue. You can change this later under Settings › Features.
Step 4 – First billing plan
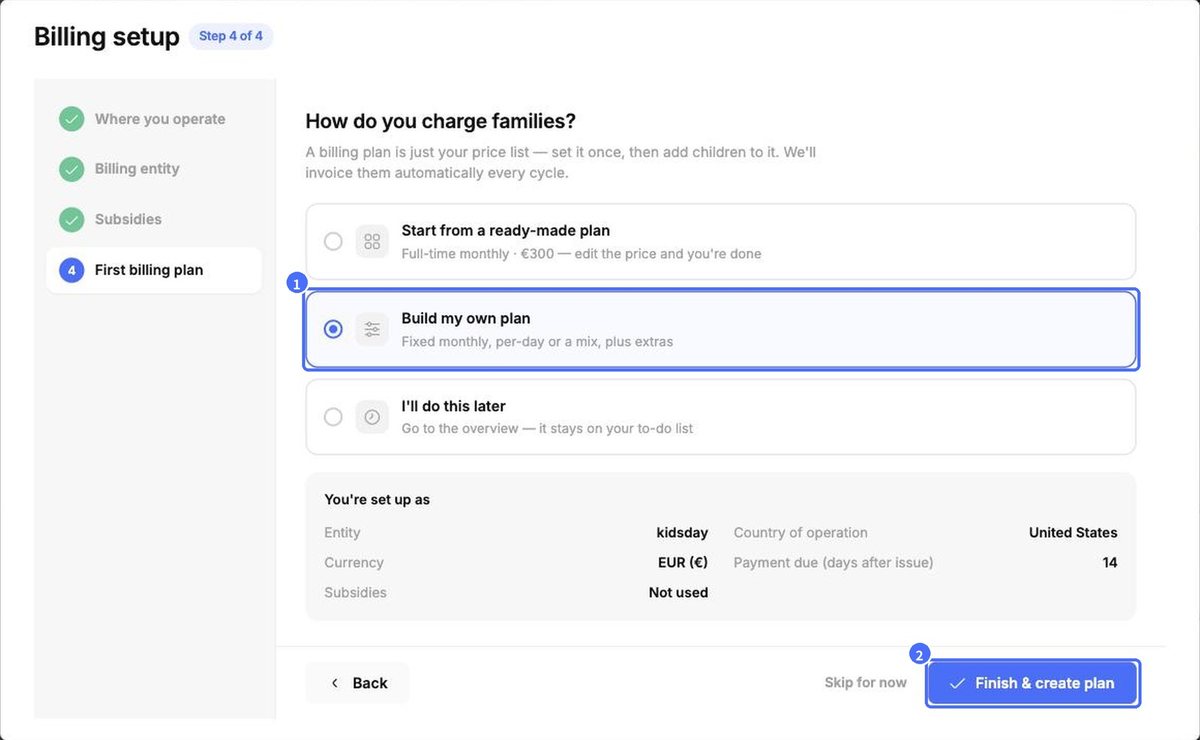
Choose how you charge families:
- Start from a ready-made plan – a full-time monthly plan you only need to re-price.
- Build my own plan – fixed monthly, per-day or a mix, plus extras.
- I’ll do this later – go to the overview; the task stays on your to-do list.
Check the You’re set up as summary and click Finish & create plan.