

A practical guide for educators and parents: how Montessori presentations work, how to match activities to a child's age and the materials you already have, and how to present them step by step, with three worked examples.
Most educators and parents who discover Montessori run into the same problem. There are thousands of activity ideas online, but very few explain which ones suit a 20-month-old rather than a four-year-old, what the child is actually meant to learn, or how to show the activity so the child can repeat it alone. The result is a shelf full of pretty trays that children ignore, or activities that end in frustration because they came too early.
The good news is that Montessori activities follow a clear logic. Each one is a short, deliberate demonstration called a presentation, with one main purpose, a built-in way for the child to notice mistakes, and an age range it genuinely suits. Once you understand that structure, choosing and presenting activities becomes much easier, whether you run a nursery room, a kindergarten class or a corner of your living room.
What a Montessori presentation is
A presentation is a slow, quiet demonstration of an activity, given by the adult to one child or a very small group. The adult moves deliberately, uses few words and lets the hands do the teaching. Afterwards, the child is invited to try, and then to repeat the activity as often as they like.
Every presentation has a few parts worth knowing:
- Direct aim: the main skill the activity builds, such as pouring without spilling or matching colors.
- Indirect aims: the skills that grow along the way, such as concentration, coordination, independence and the left-to-right movement that later supports reading and writing.
- Control of error: the way the activity itself shows the child a mistake, such as water on the tray or a bead left in the wrong bowl, so the child can correct it without an adult pointing it out.
- Materials: real, child-sized objects arranged on a tray so that everything needed is in one place.
The five learning areas
Montessori classrooms are usually organized into areas, and it helps to plan across all of them rather than only the most popular one:
- Practical life: everyday tasks such as pouring, spooning, washing, dressing and caring for plants. This is where most toddlers begin.
- Sensorial: activities that refine the senses, such as sorting by color, size, texture or sound.
- Language: vocabulary, naming objects, sounds and, later, letters.
- Mathematics: quantity, counting and comparing, built on concrete materials.
- Culture and nature: plants, animals, the seasons and the wider world.
How to match activities to a child's age
Age is a guide, not a rule. Two children of the same age can be months apart in what they are ready for. Still, a few general patterns help:
- Around 12 to 24 months: simple practical life with large movements and few steps, such as transferring large objects, opening and closing boxes, or wiping a table.
- Around 2 to 3 years: longer sequences with more control, such as spooning, pouring dry materials, washing hands at a low basin, and simple sorting.
- Around 3 to 6 years: finer movements and multi-step tasks, such as pouring water between small jugs, table washing, sensorial materials and early language and number work.
The most reliable guide is observation. A child who is ready shows interest, watches others, and has the movements the activity needs. If a child loses interest quickly, gets upset or uses the materials in a way that is unsafe, it is usually too early. Put the activity away for a few weeks and try again.
Preparing the tray
A well-prepared tray does half the work. Before you present an activity:
- Gather only what is needed, arranged in the order it will be used, from left to right.
- Use real materials where it is safe: glass or ceramic teaches care in a way plastic does not, but always choose what suits your setting and the age of the children.
- Include what the child needs to clean up, such as a small sponge or cloth.
- Try the activity yourself first, so you know where it can go wrong.
For the youngest children, check every material for choking hazards and supervise closely. Small beads, dried beans and similar objects are only for children who no longer put things in their mouths, and always with an adult nearby.
Three worked examples
Transferring beads with a spoon
Direct aim: control of the hand and wrist when using a spoon. Place two small bowls on a tray, with large beads in the left bowl and a spoon between them. Pick up the spoon slowly, scoop one bead, carry it across and tip it into the right bowl. Repeat until the left bowl is empty, then reverse. Control of error: a bead that falls onto the tray shows the child the movement needs more care. Suitable once a child has stopped mouthing small objects.
Pouring water between containers
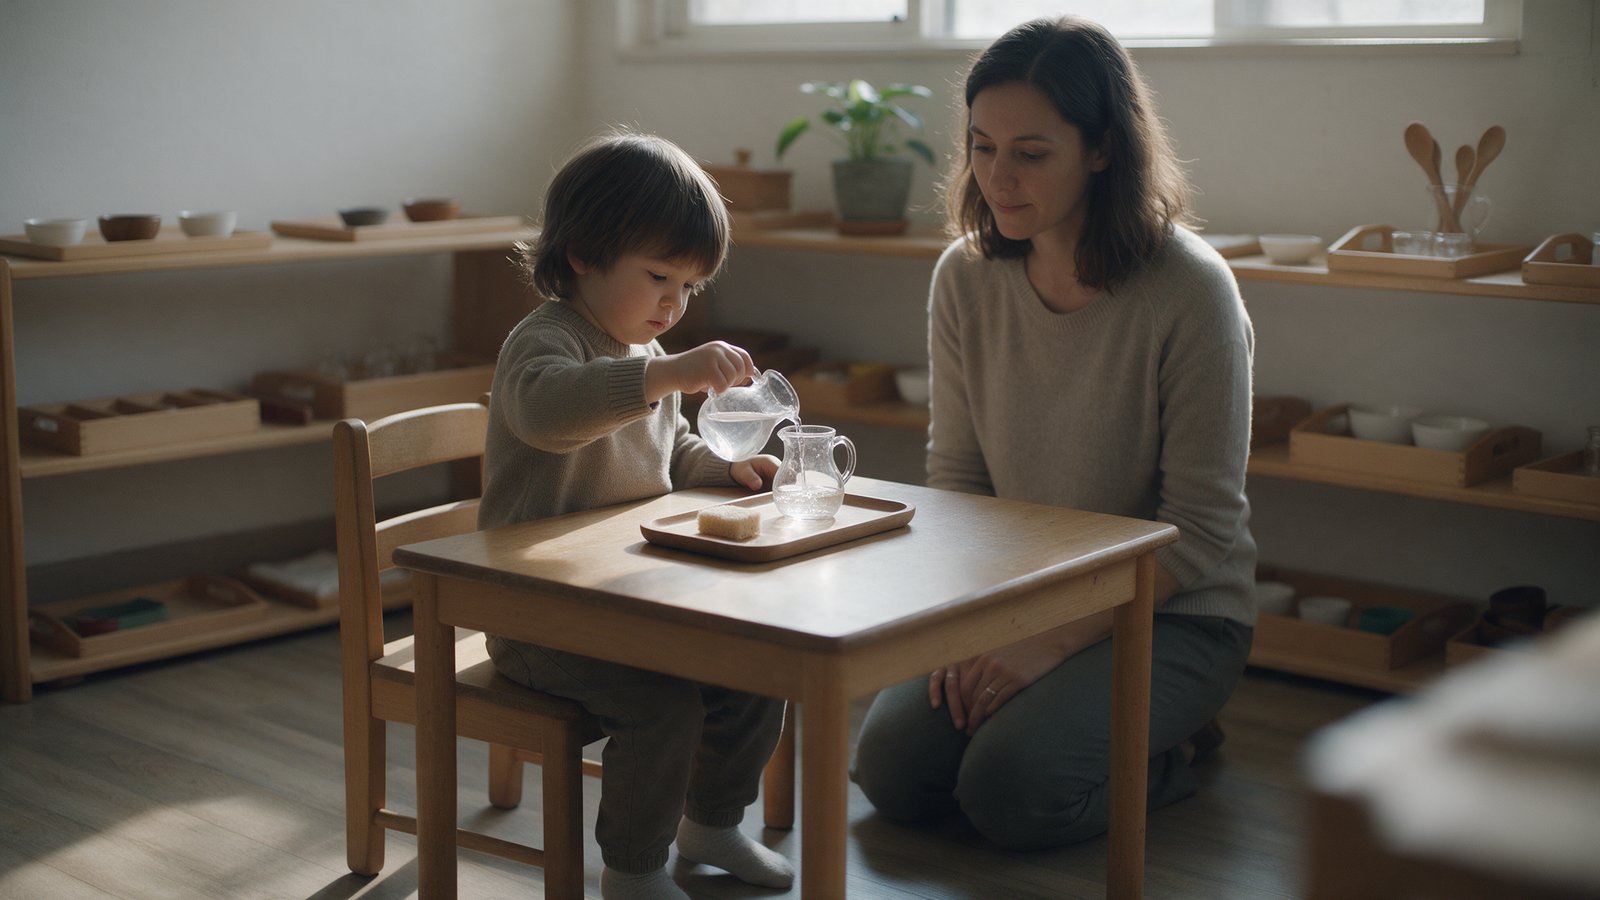
Direct aim: pouring with control. Use two small jugs on a tray, one partly filled with water, and a sponge. Hold the handle with one hand, support the spout side with two fingers of the other, and pour slowly until the jug is empty. Pause, then pour back. Show how to wipe a drip with the sponge. Control of error: spilled water on the tray. Many children practice pouring dry materials such as rice or lentils before moving to water.
Washing a table
Direct aim: caring for the environment through a real task with a clear sequence. Gather a small bowl, a jug of water, a scrubbing brush or sponge, a bar of soap and a drying cloth. Fill the bowl, wet the table in small sections, scrub in circles from left to right, rinse and dry. Then empty the bowl and return everything to its place. Control of error: soap or water left on the table, and missed patches. This longer sequence usually suits children around three and older.
Common mistakes to avoid
- Talking through the whole presentation. Show first, speak afterwards.
- Correcting the child mid-activity. Let the control of error do its job, and present again another day if needed.
- Putting out too many trays at once. A few well-chosen activities, rotated regularly, hold attention better.
- Choosing activities by how they look rather than by the child's readiness.
A free tool to help you plan
To make planning easier, kidsday offers a free Montessori Activity Matcher in the Tools section of kidsday.com. You enter the child's age in months, choose a learning area (practical life, sensorial, language, mathematics, or culture and nature) and tick the materials you already have, such as water, small jugs, bowls, beads, cloths and sponges. It suggests three presentations that suit that age, with the ones you can run today listed first. Each comes with its direct aim, the steps to present it and the control of error, plus anything extra you would need. Like any planning card, it is a starting point: observe the child and present only when they show readiness. For centers that want to go further, the kidsday platform also includes an AI Lesson Planner and an AI Development Report that turns educator observations into progress reports with suggested activities.
Final thoughts
Montessori activities work best when they are chosen for a specific child, prepared with care and presented slowly. Start with practical life, keep the trays simple, watch closely and let children repeat as often as they want. That repetition is where concentration, confidence and independence grow, and it matters far more than how many activities are on the shelf.